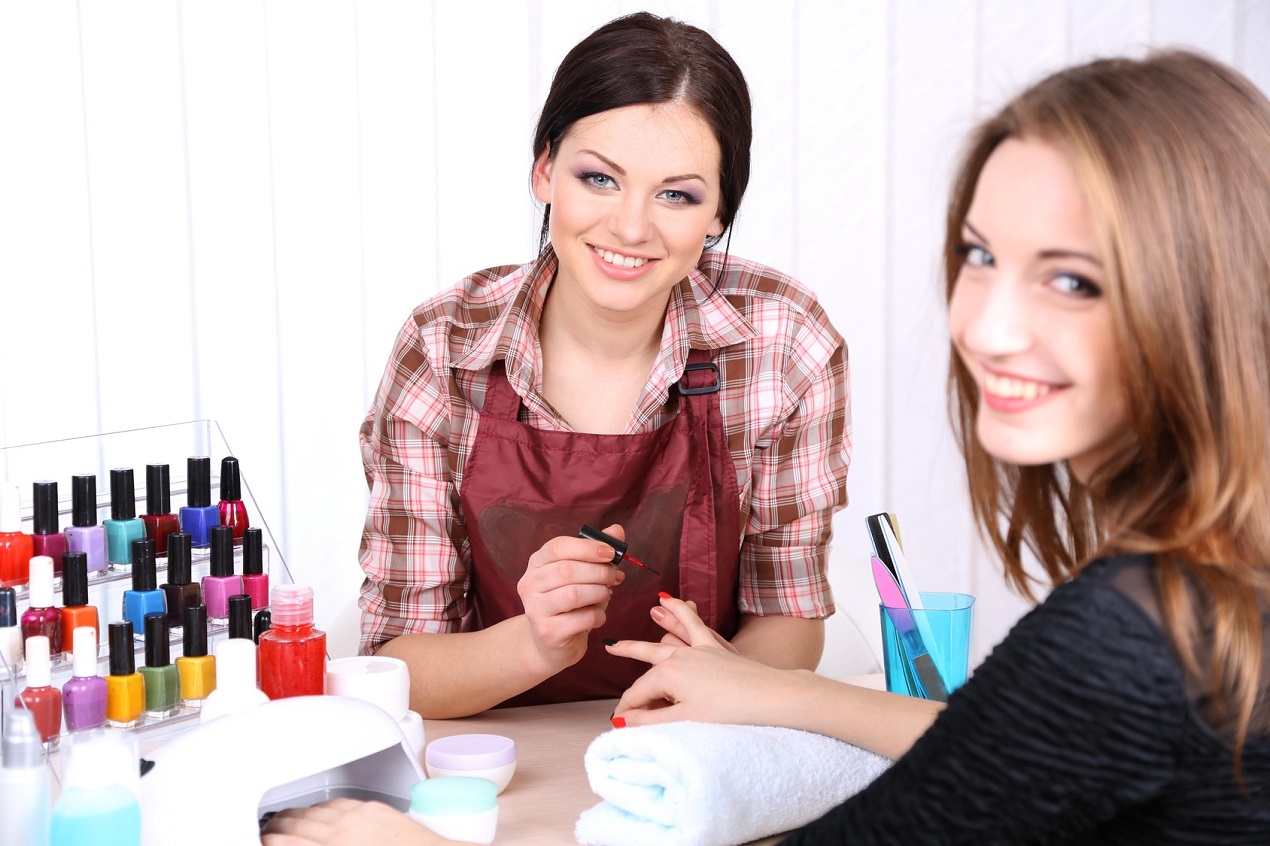
If the lockdown has taught us anything, it is that one should be self-sufficient in the skills pertaining to personal grooming; whether it be pampering oneself with facial or doing something as basic as waxing, one must always know how to do them.
One such skill that you can also take up is giving yourself a manicure. Although yes, you may go to the salon to spoil yourself, in case the salon is out of the question, or you don’t want to spend money on manicures, knowing how to do them from the vicinity of your house can be of help.
Moreover, not all salons have stringent hygiene standards in place. Low-quality products and instruments that are not properly cleaned can give you skin problems that then require the intervention of a Dermatologist in New York.
Doing A Manicure At Home
While naturally, the manicure you give yourself might not be as good as a professional’s, it can be good enough. You would need certain instruments with you, including a nail file, a buffer, cuticle oil, nail polish, nail clippers, a wooden stick, top and base coat. If you already have nail polish on, you will need to remove it as well.
The step-by-step guide to your manicure at home is as follows:
Starting off
For to start off, you need to first prepare your hands and nails. Make sure that you start off with clean nails. Then, if you are wearing nail colour, using a good quality nail polish remover, get rid of it.
It’s also recommended that you swipe the remover over your nails even if you’re not wearing the nail colour since it helps in removing the nail oils, which allows for the base coat to last.
Cut And Shape The Nails
Now, it’s time to prepare your nails. Cut them to a comfortable size. Know that you have to file them as well, so don’t cut too close. Once you are done cutting, then use a nail file to give them the desired shape. Make sure that you keep the size somewhat uniform on both hands. Also, try to make the corners smooth so that the nails don’t get entangled on surfaces.
Buff
To make your nails even smoother, use a buffer. It helps in evening out the surface without making the edges jagged.
Pushing Cuticles Back
Now, use the cuticle oil to make it softer. This makes the cuticle more malleable so that you can then push it back with a wooden stick. This makes the nail look longer.
Clean Your Nails
After doing the cuticles, clean your nails. If the residual oil remains, it can then cause the breaking of the nail coats, which is naturally something that we don’t want.
Adding Base Coat
Go on now to apply the base coat. Try to apply even coats so that the surface remains smooth. Start off with a thin layer, as a thick one, then causes uneven application.
If you don’t have one, it is okay to skip on it, but it is recommended to invest in one. Not only does the base coat helps in hydrating the nail, but it also ensures that the nail paint lasts for longer. It also
Colour
Let the base coat dry for a minute or two, after which go ahead and apply your nail colour. Make sure that you apply an even first layer. Leave no thick lumps or bubbles in the paint. If you drip nail polish elsewhere on your hand, clean immediately.
It is recommended that you apply two layers of nail paint.
Topcoat
To ensure that your manicure lasts for a longer time, seal it in with the topcoat. You can also follow it by using cuticle oil since if the cuticles are dry, it can lead to problems that merit treatment from the Best Dermatologists in the USA.
Manicures, once considered a luxury, have now become a daily necessity for today’s women. The origin of the word manicure comes from Latin and comes from the combination of the words ‘manus’ and ‘cura’; “Manus” means hand, while “cura” means to care. Regular manicures can really do wonders for the hand. Invest in a set of manicure tools to keep your hands neat, clean and attractive, and learn how to do your manicure at home with these easy manicure tips!


